Friday 31 January 2014

Chinese New Year - Year of the Horse

People born in the Year of the Horse are clever, kind, animated and energetic. Although they sometimes talk too much, they are cheerful, perceptive, talented and love to be in the centre of a crowd. They are popular among friends, active at work and have a deft sense of humour.

2014 is the year of the Wooden Horse. Wood Horses are strong and stable and have a better ability to make decisions. Excellent at interacting with others, they are successful personally and professionally.

Do you know anyone who was born in this year ?

If so why not check out the inspiration from the team below, you can find out mpore about this Chinese year HERE


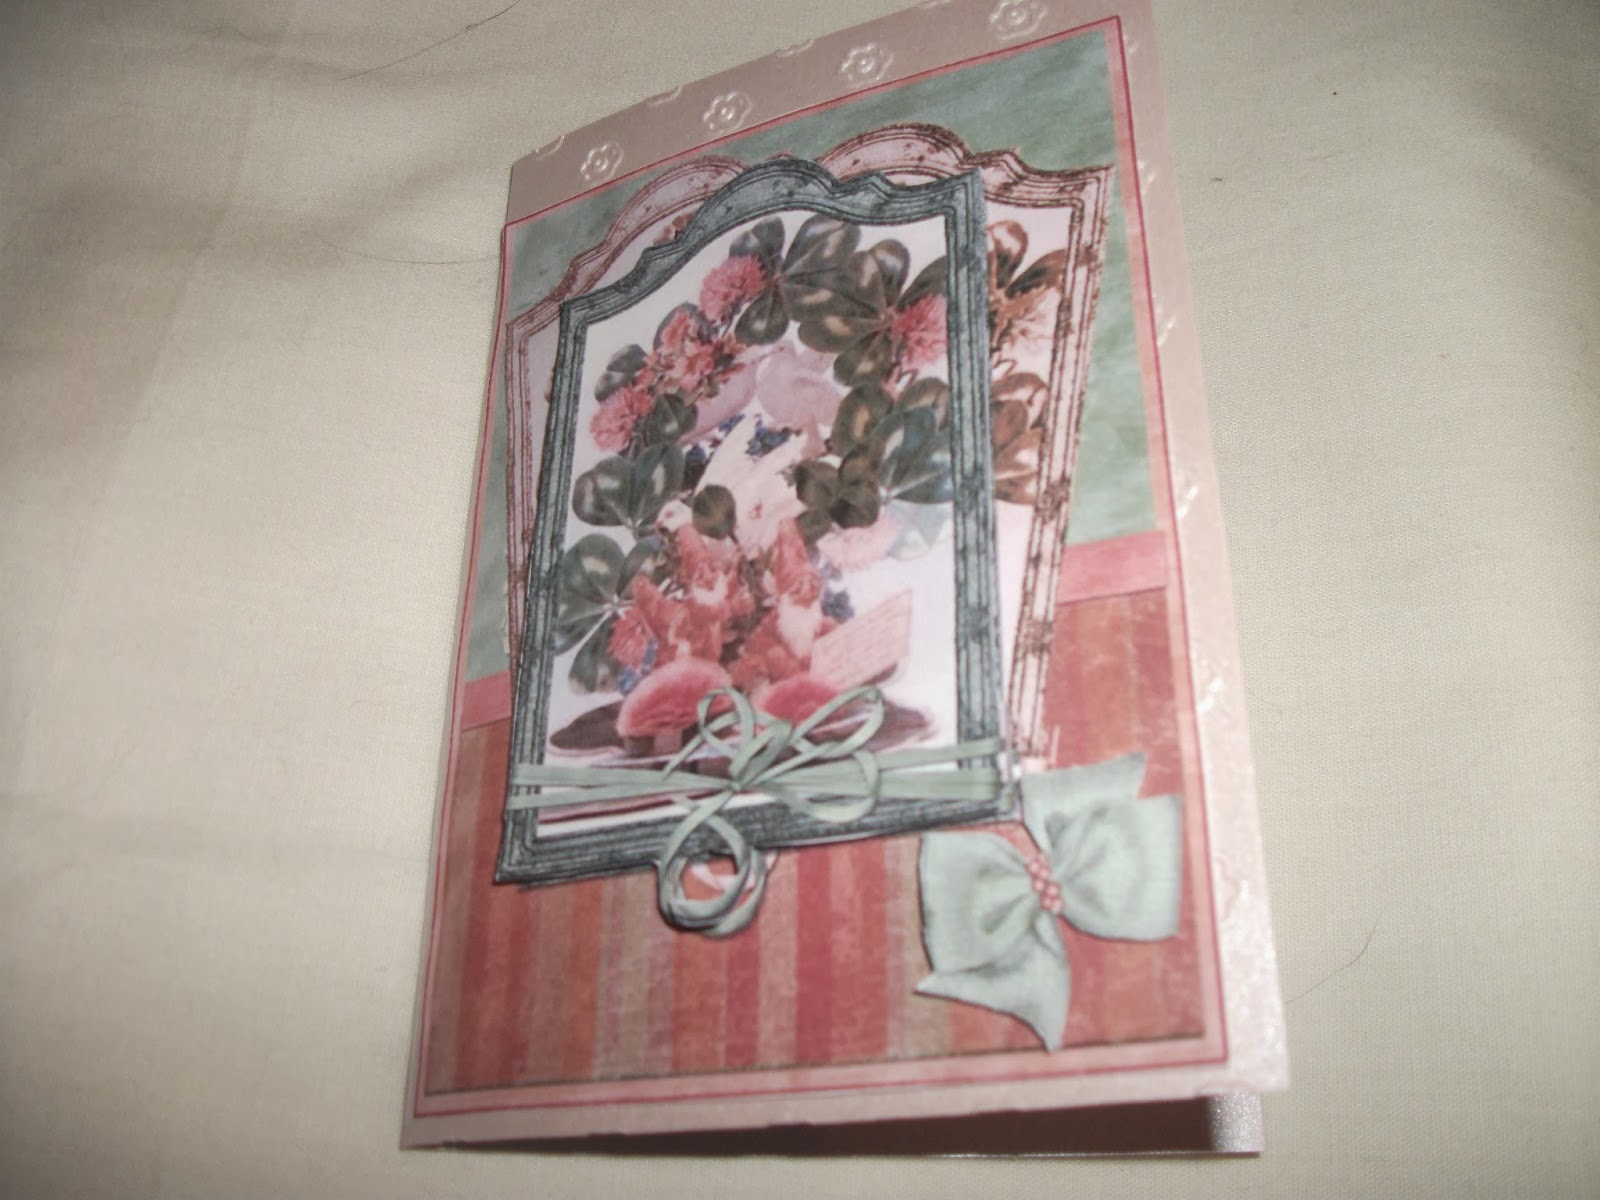
Gwyneth created these gorgeous cards just for the occasion :D

"I got my hands on my nephews new pencil crayon set and did this one as a lighter roan and brought in the Chinese symbol for Year of the Horse."


"Horse card, co loured with Pro Markers and decorated with blossom."

You can see our selection of Horses in store HERE


These are from Past DT Members :D


Wednesday 29 January 2014

Scrap page - Cat elements pack

Hi everyone I hope that you are all well and happy.
Today I would like to share with you something a little different to what I usually create, I have created a scrap page! I have used the Cat Elements pack available in the store and the two kitties featured on the page are two of my furry babies Smokey (top right) and Minnie (bottom left). Scrapbooking is not something I usually do but I had fun doing this so will continue doing them especially with all the new goodies coming out in the store !!
Here it is and I hope that you like it.

Link
Cat Elements pack
Pop along to the facebook group where you will find inspiration, fun and crafty chat every day, come along and join in the fun.
Thanks for stopping by
Hugs Tina
HAPPY CRAFTING
xxx

Tuesday 28 January 2014

Felt flower embellishment - Try Something New

Hi everyone I hope that you are all well and happy!
Today I would like to share with you a little felt flower tutorial that I have done recently over in the Stamping Dragon Designs facebook group for the Try Something New feature that takes place on a Saturday.
As the title suggests it was the first time I hade made these and I hope that you like the end result! 
A few things that can be used
cut felt strips in approximately 1" and 1cm widths
 
Using a basic running stitch sew the length of the strip
 
and gently pull on the thread to gather the felt
 
This pic shows felt of the two different widths following the steps above and sewing the ends together
 
Sew the two parts together and add a button to the centre
this forms the flower
 
And finally here is a card that I have created using a felt flower of different colours
Please pop on over to the Stamping Dragon Designs FB group and check out the Try Something New feature, there is an opportunity to win loyalty points if you can correctly identify the SDD products that I have used in the card!
I hope you have enjoyed this little tut and have found it informative and useful.
Thanks for stopping by
Hugs Tina xxx
HAPPY CRAFTING


Monday 27 January 2014

"Pick of the Week" - 22 - Autumn Leaves Tutorial

Good Morning Everybody!
Gwyneth back with another "Pick of the Week".
And as it's my first "Pick of the Week" post here on The Den this year I'd like to wish you all a fantastic 2014.

I've been playing with another digi-stamp from the Stamping Dragon Designs shop and have produced a gatefold card that I think will be suitable as a male card.


Stamping Dragon Designs Item:
"Autumn Leaves Bookmark" - found - Here - in the shop.
Consumables:
Super Smooth white cardstock; ProMarkers; Black Cardstock; Frosted Gold Cardstock; 2mm deep double sided foam tape; 2mm deep double sided shaker tape; Glue Gel; Glitter Glue; Peel-off "Penblwydd Hapus" greeting (Welsh for "Happy Birthday")
Equipment:
Score Board; Perfect Layers rulers; Craft Knife; Scissors.
After printing and colouring in the image I cut the pieces out.
But rather than keep the little envelope in one piece I cut it down the centre and then cut off the tabs.  The two halves were matted onto a frozed gold cardstock, trimming to leave a 3/16 border around three sides of each but no border on the adjoining side.
The matted images were stuck to the front of a gatefold card I'd made from black cardstock.  I used 2mm tape to attach, using the wider tape on the right hand side, but using the narrow, shaker tape, around the three sides of the left hand side.  I added the glitter glue and peel-off.
Before sticking I'd cut a half circle notch out of the gatefold on the let hand side, and as the topper is only stuck on three sides, and not along the centre on this side the bookmark just slots in.
Just grip in the notch and the bookmark slides out as a little gift within the card.  A nice idea if you are giving a book, or a book token, as a gift.  In fact, If you make the mat large enough you should be able to use the same method to slot in a gift card, or even cash.
-oOo-
And that is it from me for today.
You should find various other "Den" Design Team members here with their "Pick of the Week" projects over the next few weeks - I hope that you'll also visit here again in four weeks time when I should be back with a new "Pick of the Week" item to show you
- I'm going to get my thinking cap on to see what I can come up with.
In the meantime you'll find lots of other posts popping up on this blog practically daily, so please do come back to have a look soon.

Stamping Dragon Designs Links
  • If you fancy trying out some of Stamping Dragon Designs, please do visit the Store to find all sorts of digital goodies (you'll find great digi-stamps and lots more).
  • And why not join the "Stamping Dragon Designs" Facebook group. It's a small, fun, group where we have lots of different activities which include exclusive challenges, daily inspiration and giveaways - and there's a loyalty club for those who take part as well.
  • "Like" Us on Facebook
  • Stamping with the Dragon - Challenge Blog : new challenge every fortnight
  • Follow designer Janette Padley on Pinterest!
  • See us on CraftsUPrint
  • Etsy Shop - Instant downloads!

Till next time - Have Fun Crafting!
Gwyneth
DT Member
(And if you are wondering "who's Gwyneth?" - then you'll find an "About Me and My Blog!" piece on my blog.)

Sunday 26 January 2014

Meet the Team - Jo Hood

Happy Sunday everyone :D Its time to Meet a Team Member again and this time its Jo she is a member of both the challenge and the Facebook Teams, and on top of that helps our Tina out in the Facebook group running things .. Here is what she has to say :D


Tinkability Crafts
Jo Hood

Hi well what can i say, i love crafting but when it comes to telling you about me i get stuck,lol.
So here goes!!!
I'm Jo, i am married to my lovely hubby Gaz, he is my world, my rock. We have a wee boy Hayden who is 2 and a half, terrible 2's have defo kicked in.
I am a stay at home mum, i run my own small businesses from home too.

1 : I make handmade cards and gifts
2: I'm a partylite consultant, again!!! lol

I have been crafting since a young age, loved to draw when i was a kid and came away from high school with higher art. I then started working and crafting/drawing got put to the side.

Life took over!!

But i started back making cards a few years back one Christmas and it took off from there. I decided to quit my job as a sales assistant once my maternity leave ended and haven't looked back.
I don't think i have a favorite style or technique as i like to try new things all the time.
I have been a member of the design team for Stamping Dragon for just over a year and if Janette hadn't put her trust in me, i don't think i would be were i am today with my crafting.

So a big thank you to Janette and the rest of the Dt's for their support.
For the future i just want to keep crafting and learning new things, nothing too big for me at the mo.

Here are a few of my favorite samples. x


Friday 24 January 2014

Winter Blues at Stamping with the Dragon

Its Challenge time again over at Stamping with the dragon, Last month on our first challenge we had a massive response which was awesome, so a huge thank you to all who played along with us :D

Want to play again this time ?

What are you waiting for Pop on over and PLAY

THEME: Winter Blues. (Winter project, use mainly blue colors)


Stamping Dragon Designs Links

Thursday 23 January 2014

Crafting on a budget

Hi everyone how are you all?
Today I would like to share with you a stencil/mask that I have made from a plastic milk bottle, it is the first time that I done anything like it and I am going to be making more of these as they are quite easy to do but I still need some practice ha ha.
 A couple of things I used.
I used a craft knife and scissors to cut the bottle into pieces, the bottom of the milk bottle is going to be used for a future project.
I rough wrote on the plastic and then using the craft knife cut out the letters.
I also punched 3 heart shapes on a separate piece of plastic(see pic below)

I used a washing up sponge to apply Fired Brick distress ink to a 5x5 card blank and using the stencil/masks I used the sponge and fired brick to put a heart in the corners and "LOVE" at the bottom of the card. 

And here is the card !
As you can see a certain dragon has made an appearance! I do love this digi I have coloured her with promarkers but she also comes ready coloured! pop along to the store where you will find her and so much more !
Penny Dragon in Heart
So as you can see this card has cost pennies to make and the stencil/mask was FREE! budget crafting at its best.
Thanks for stopping by
HAPPY CRAFTING
xxx


Monday 20 January 2014

Pick of the week

Hi Folks it's Tania here with my pick of the week.
Where do the weeks keep going
We are nearly through the first month of the year
The image that I have used has come from the fabulous Stamping Dragon Designs Shop .

There are some wonderful images that you can purchase and once you buy one you will be hooked.

For my image today  I have chosen butterfly sticker
Butterfly Stickers
Such a stunning set of images I decided to use  the butterfly with the pink flowers.

 I printed the image 4 times. The first image I cut out using a spellbinder die but to ensure I didn't spoil the image I cut around the pieces of the image that could be spoilt.
I then fussy cut the rest of the images and decoupaged them up.
To finish the card  I mounted it onto pink card which I had embossed with a butterfly embossing folder and added lace and pearls.
At the moment I have not added a sentiment, but this card could be used for a bithrday or a thank you card. 


Make sure you pop on over to the Shop and have a browse , there is a great selection of  Images available for you to choose from.

We also have a Stamping Dragon Facebook Group , where we have lots of fun , inspiration for you , mini challenges and lots , lots more, so why not come over and see us.

Well that's  it from me for today, have a wonderful festive break.
 Gwyneth will be bringing you the next
 Pick of the Week next Monday ,
See you soon
Hugs  T xx


LinkWithin

Related Posts with Thumbnails